Install Ubuntu on Virtual Box
There are several ways to install Ubuntu we will follow virtual machine way.
Virtual machine (VM) is a program that runs on host machine (e.g. Your PC with windows) and simulates the environment for guest machine (Ubuntu).
First task is to install VM on windows, configure it and then install ubuntu on that VM.
Select RAM size.
Virtual machine (VM) is a program that runs on host machine (e.g. Your PC with windows) and simulates the environment for guest machine (Ubuntu).
First task is to install VM on windows, configure it and then install ubuntu on that VM.
1. Install Oracle VM VirtualBox on windows.
There are lots of VM players available we have selected most popular and free version i.e. Oracle VM VirtualBox.
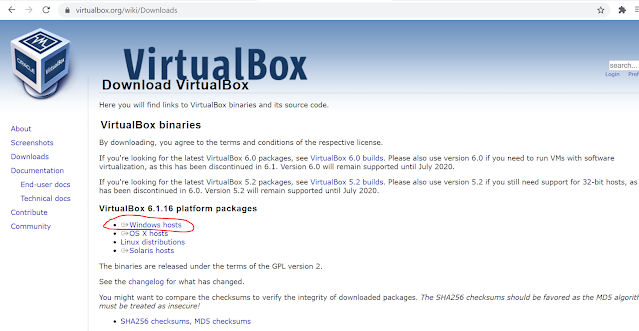
Download Oracle VM Virtual Box player for windows from official website.
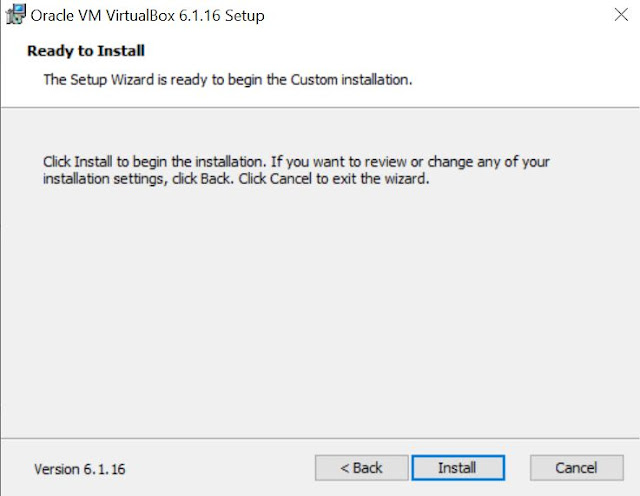
After downloading the application launch its setup by double clicking (e.g. VirtualBox-6.1.16-140961-Win.exe). Setup wizard will start then follow the instructions on the screen.
Finish the setup.
2. Configure Virtual Machine
Once the VM player is installed lets now configure the virtual machine for Ubuntu. Configuring is as good as customizing your new virtual machine. One can choose RAM memory to allocate, Hard disk to be assigned, CPU cores to be selected etc.
Following is the reference configuration you can alter as per your choice.
Launch Oracle VM VirtualBox. Select New option to create new VM for Ubuntu.
You can Name the VM machine as per your wish, Your Ubuntu OS will be stored at Machine Folder path, you may choose to browse for new location.
ISO Image is the OS bootable file which is used to install OS.
Download Ubuntu image file from official website of Ubuntu (Ubuntu website >> Download >> Ubuntu Desktop).
Always download stable version like LTS- Long term support.
Select Path of that ISO Image file where you have downloaded the Ubuntu OS bootable file.
Select Next.
Size should not be more than half of the memory of your host PC.
Since we have already provided Ubuntu bootable file (.iso) path in the beginning, CD drive of VM already has the Ubuntu OS setup loaded. We can directly Start OS by Pressing Start Button and wait for booting instructions.
Follow the steps to install Ubuntu.
e.g. If your PC has 8 GB RAM then 4 GB RAM is recommended.
Select Processor Cores
Number should not be more than half of the Cores of your host PC Processor.
e.g. If your PC has 8 Cores then 2 to 4 Cores is recommended.
Select Next.
Select Hard Disk size.
10 to 25 GB hard disk space is enough.
Ensure you uncheck 'Pre-allocate Full Size' option otherwise it will take up entire allocated memory size from your host hard-disk.
Select Next.
View Summary of Virtual Machine. Click Finish.
3. Install Ubuntu
Once setup is complete restart the VM.
Congratulations !! Ubuntu is successfully installed.
4. Finishing touches
The Ubuntu Desktop screen is shown in a small window, in order to stretch it and view the desktop in full screen we need to install some essential drivers. It is called 'Guest Additions'. It has all other required things which smoothens the VM experience.
Devices >> Insert Guest Additions CD image
CD will be detected in Ubuntu. It should autorun. If it doesn't work open CD contents and right click autorun.sh to run as program.
It will install all necessary modules. Press Enter to close window.
Devices >> Shared Clipboard >> Bidirectional
Devices >> Drag and Drop >> Bidirectional
Machine >> ACPI Shutdown
Go to View >> Auto-resize Guest Display


