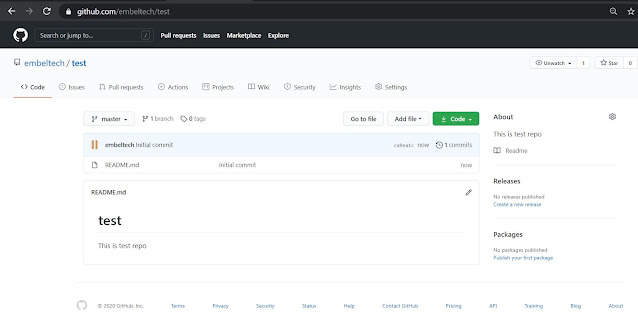
Creating your first GitHub repository
After creating and sign in Github account its time to create your own source code repository.
First we will start with creation of blank repository and then we will push some code into the created repository (repo in short)
Create Blank Repo:
After you sign in you will be presented with the landing page of Github where you can start creating your repositories. Hit Create repository button and follow the instructions.
Create your repository with following details.
- Repository name : Name of your source code module/ application/ project or as per your wish.
- Description: This section can be used to describe your source code or project in short
- Choose whether the source code is visible to all or its private
- Initialize Repo with read me file, gitignore file, license file (If you are not sure about license and ignore files then leave unselected)
- Default branch name will be main but you can change it by clicking settings link. (Its common practice to keep it as master)
- Hit Create repository button
Congratulations !! You have created your own first Github repo.
Manage access:
If you are planning to use the repository by yourself then there is no need to do this step.
But if you are planning to share this repository with your friends/teammates so that they can edit/change the source code then invite collaborators.
Go to Repo Settings >> Manage Access >> Hit Invite a collaborator button.
Add GitHub usernames/email of your friends/teammates to grant them collaborator access.
Delete Repo:
In case if you want to delete the repository then go to Repo Settings >> Options >> scroll down to Danger Zone and hit Delete this repository button.


